Managing Your Team
Learn how to add staff members, invite them to the app, understand roles and permissions, showcase your team to clients, and handle team changes.
Written By Lucas Stefanski
Last updated 5 months ago
Adding a Staff Member
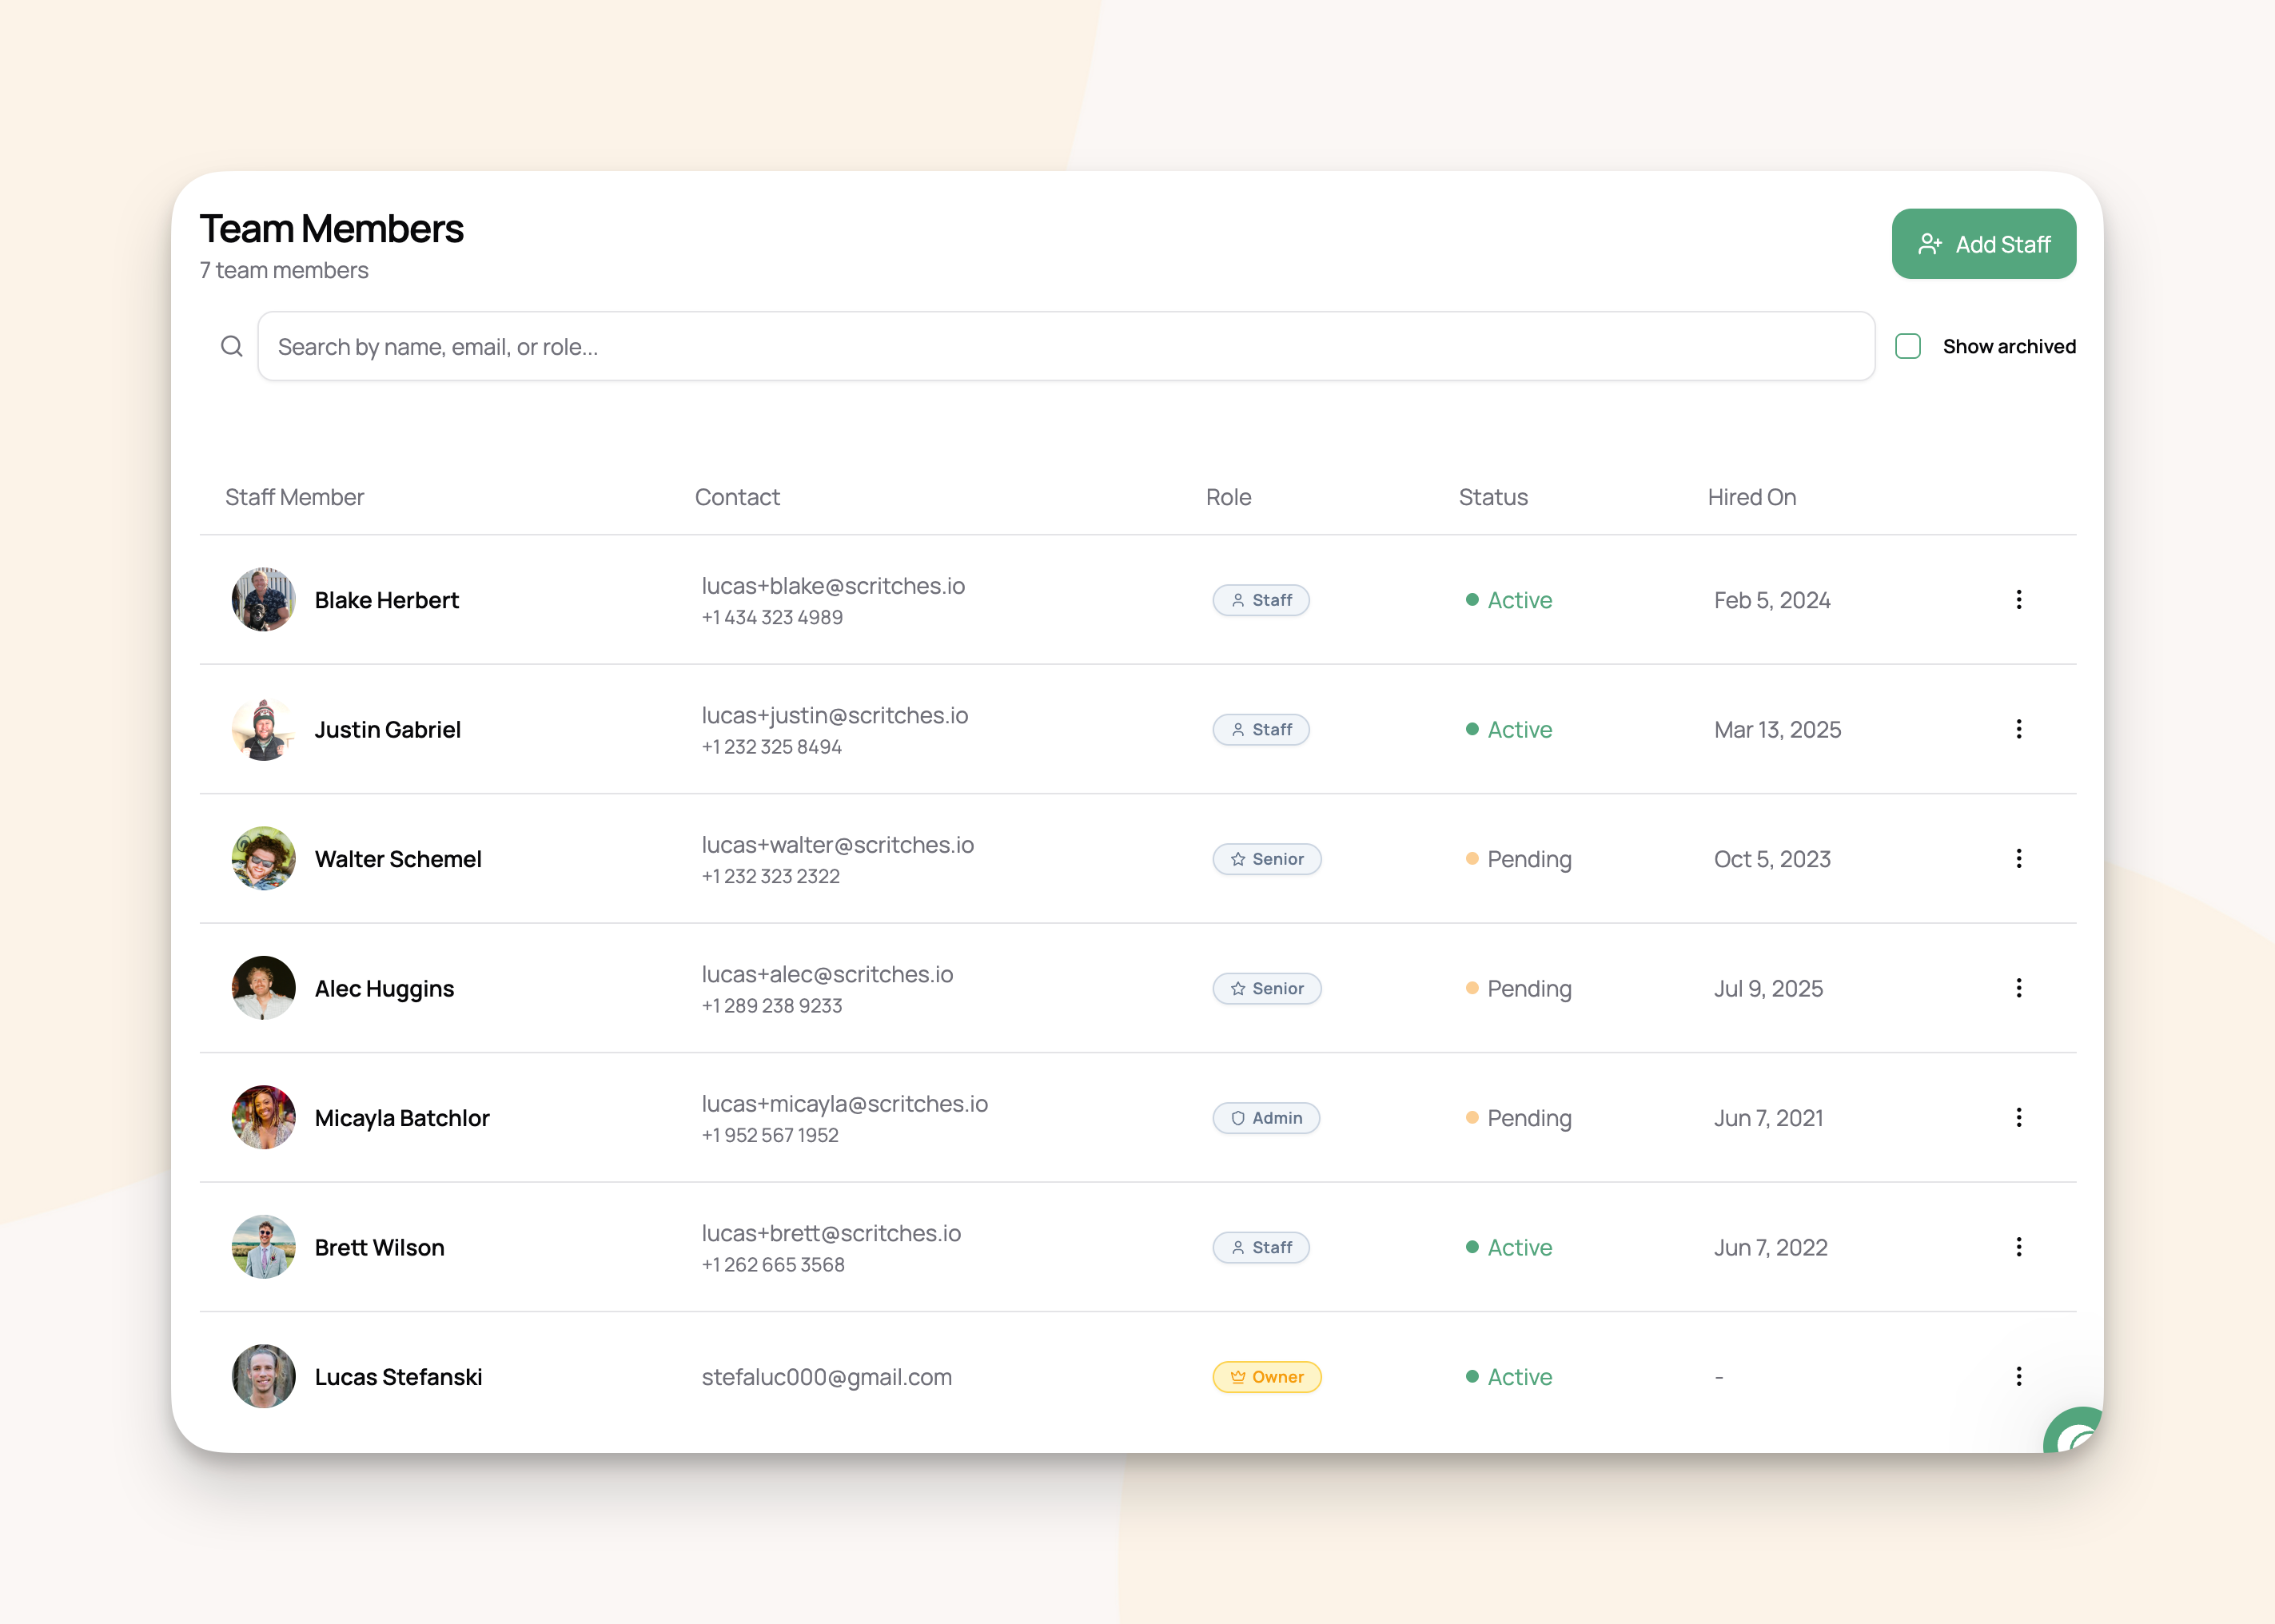
To add someone to your team, go to Staff → Team Members and click Add Staff.
Required:
Full name
Optional profile info:
Phone number
Hired date
Birth date
Address and emergency contact
Internal notes (visible only to you and admins — never shown to the staff member)
You don't need to invite them to the app right away. Adding a staff member creates a profile you can use for scheduling and payroll tracking, even if they never log in.
Inviting Staff to the App
Giving a team member app access lets them view their schedule, see assigned client and pet details, and manage their own profile.
To invite during creation:
Toggle on Invite to App when adding a new staff member
Enter their email address
Choose a role (see Roles & Permissions below)
To invite an existing staff member:
Open their profile from the Team Members list
Go to the Access tab
Enter their email and choose a role
Click Send Invitation
The team member receives an email with a link to create their account or log in with an existing one. Once they accept, their status changes from Pending to Active.
Staff Statuses
Each team member has a status indicator on the Team Members page:
Roles & Permissions
When you invite a team member, you assign them a role. Each role comes with a fixed set of permissions that determines what they can see and do in the app. Permissions are tied to the role and cannot be customized individually.
Available Roles
Staff — For team members who primarily need to see their own schedule and complete visits. They can view client and pet details for their assigned bookings.
Senior Staff — For experienced team members who help coordinate. They can see everyone's schedule, view all clients, and create or edit bookings.
Administrator — For office managers or co-owners who handle day-to-day operations. They have full access to clients, bookings, invoicing, services, settings, and staff management. Only the business owner can assign this role.
Owner — The business owner. Full access to everything, including compensation settings, payroll, archiving staff, and assigning roles. There is one owner per business.
Permission Matrix
The table below shows exactly what each role can do. A staff member's permissions are determined entirely by their role.
* Staff members can see client and pet information for bookings they are assigned to, but cannot browse the full client list.
Changing a Staff Member's Role
Only the business owner can change roles. Open the team member's profile, go to the Access tab, and select a new role. Their permissions update immediately.
Staff Profiles
Each team member has a profile with information organized across tabs:
Profile Tab
Full name, phone, hired date, birth date
Bio — a rich text description (supports bold, lists, paragraphs)
Profile photo — automatically generates a thumbnail
Personal Tab
Full address
Emergency contact: name, relationship, phone, email
Notes Tab
Internal notes — visible only to the business owner and admins, never to the staff member themselves
Who Can Edit What
Staff members can edit their own profile from Settings → My Profile.
"Meet Our Team" on Your Booking Page
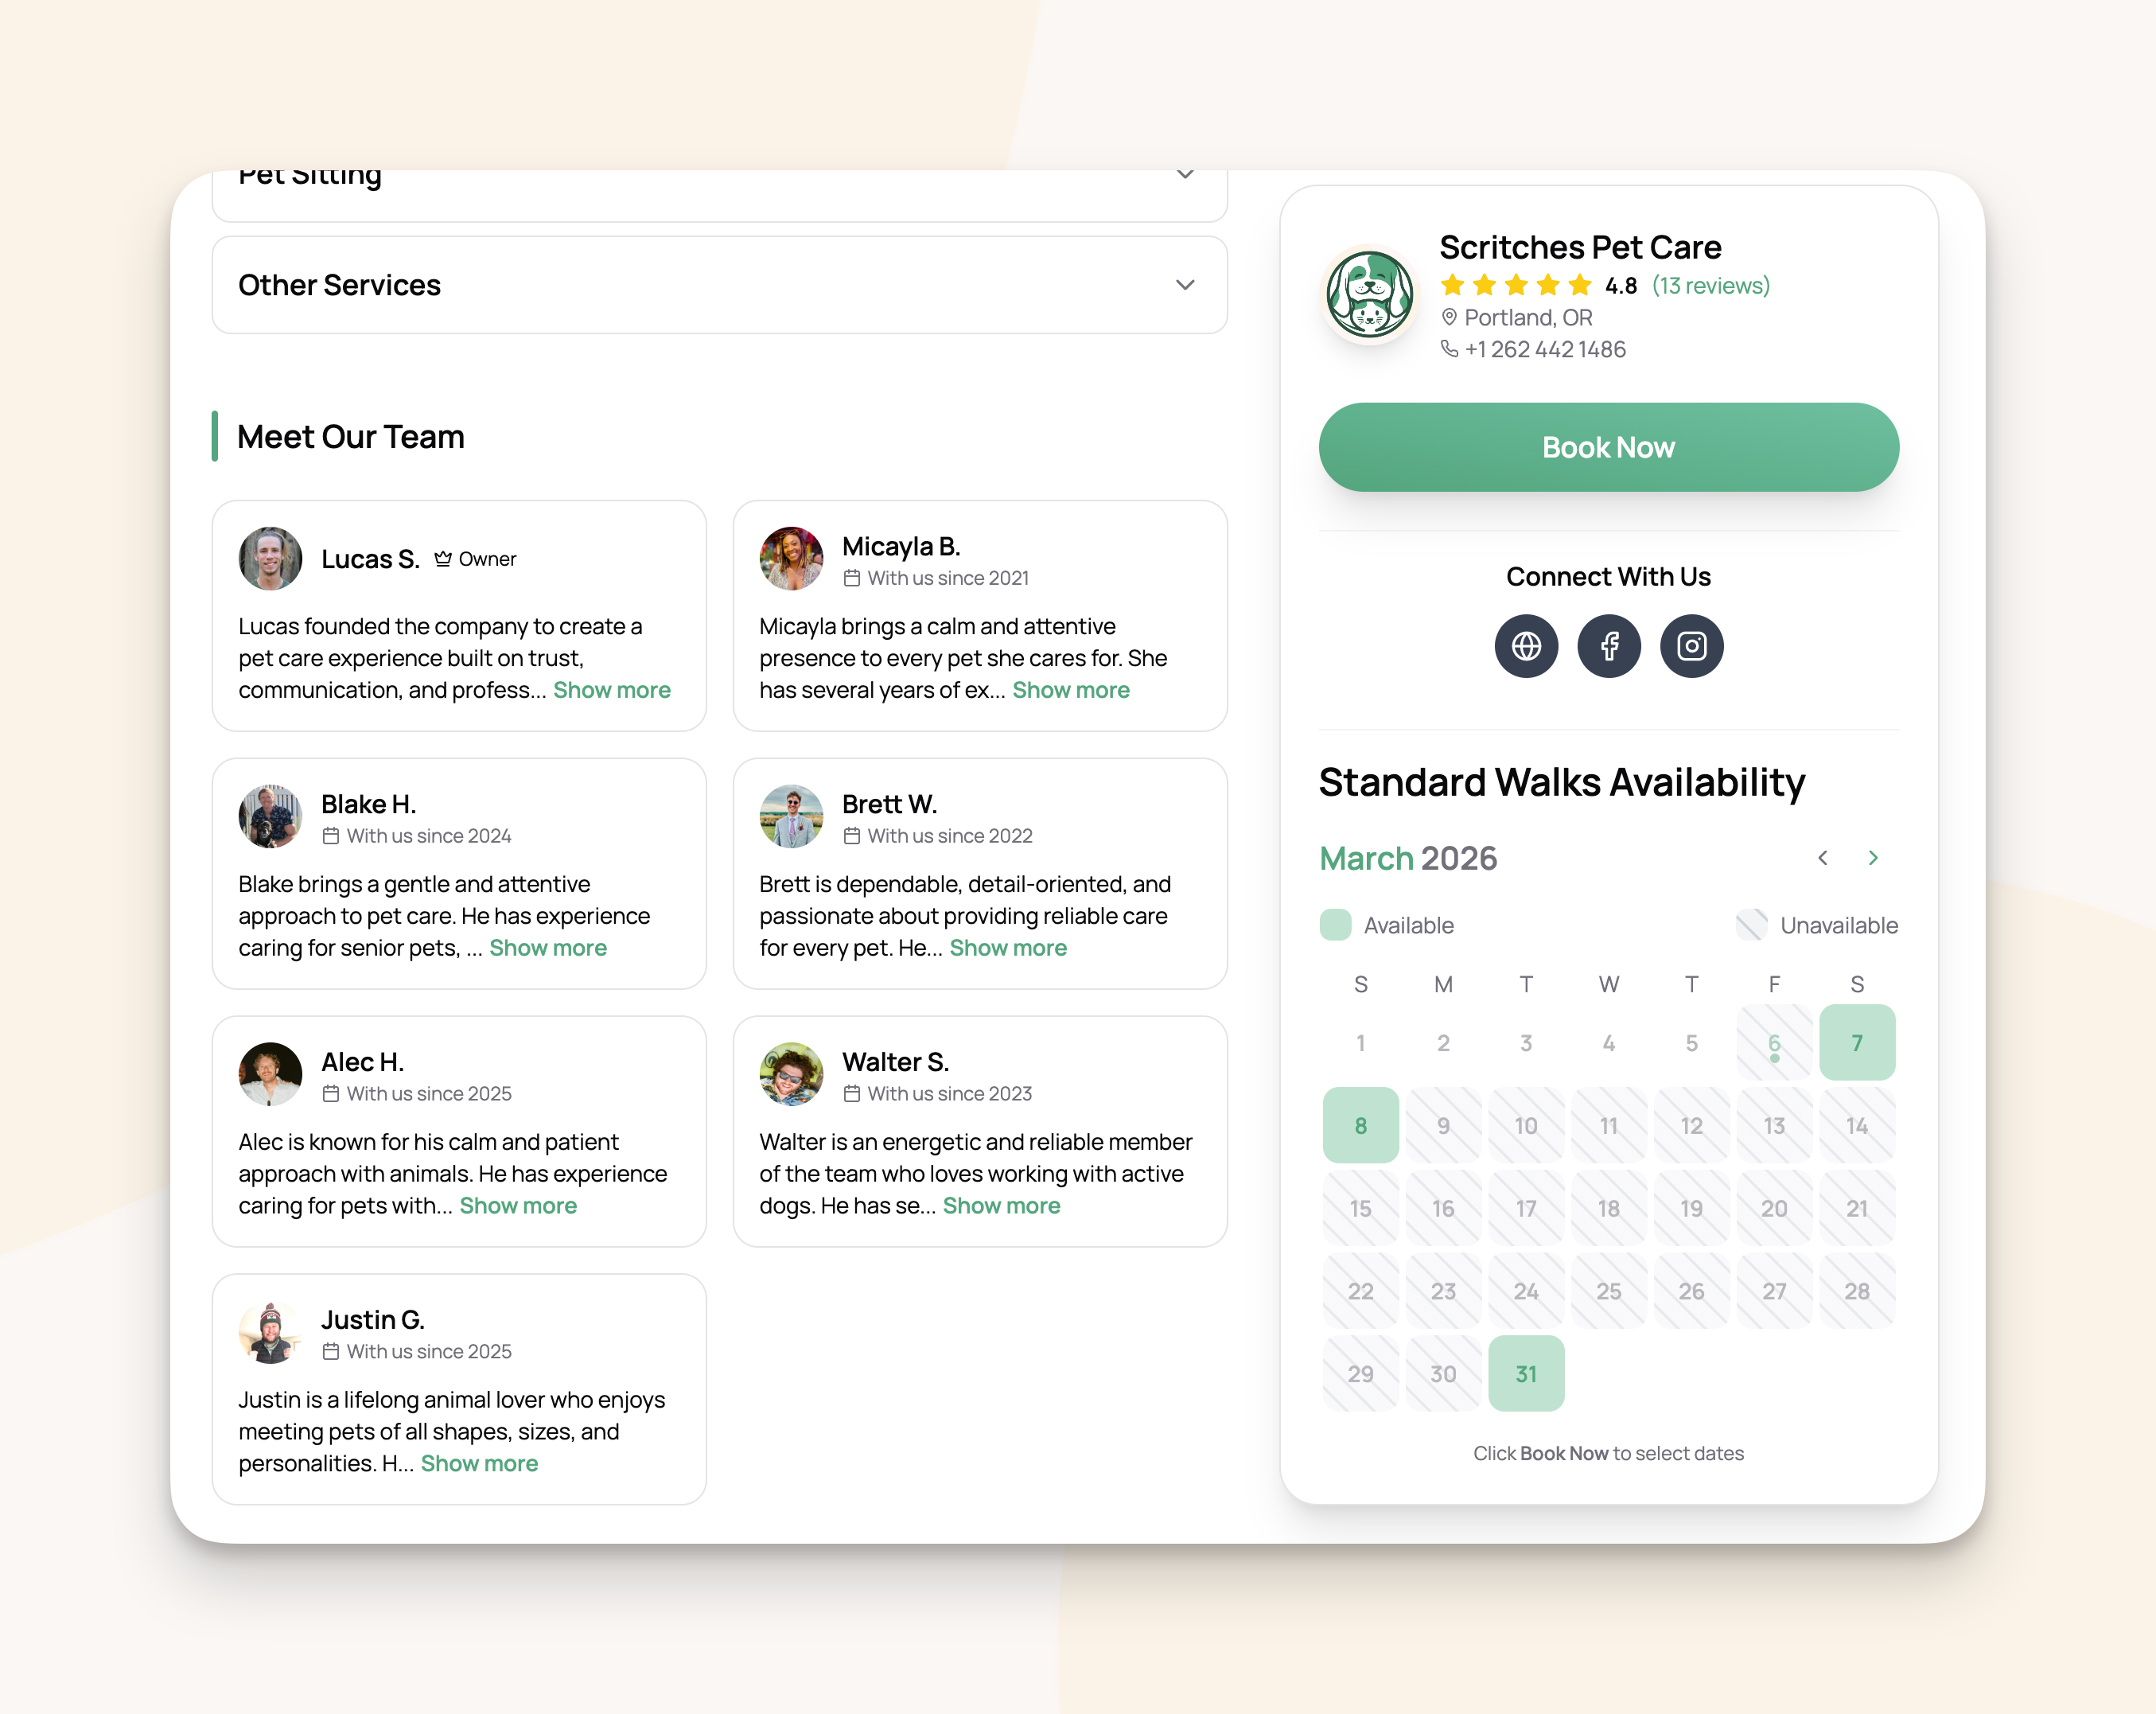
The Growth plan includes a "Meet Our Team" section on your online booking page. This lets potential clients see who will be caring for their pets.
Each team member's card shows their photo (or initials), name, bio excerpt, and how long they've been with your business (calculated from their hired date).
To manage which staff appear:
Go to your Online Booking settings → Landing Page
Find the Team Highlights section
Click Manage Staff to choose who to display
Drag and drop to reorder
Save
Only active (non-archived) staff can be selected. Clients can click a card to read a staff member's full bio.
Tips for great bios: Mention experience with animals, certifications, favorite breeds, or a fun personal detail. Bios that feel personal help pet owners trust your team.
Revoking App Access
If you need to remove a team member's ability to log in without fully removing them:
Open their profile → Access tab
Click Revoke Access
This removes their login but keeps their staff record intact. You can still:
See their past booking assignments
View their pay history in reports
Re-invite them later with any role
Archiving a Staff Member
When someone leaves your team, archiving is the recommended approach. It preserves all their history while removing them from active use.
To archive:
Open their profile or use the actions menu on the Team Members page
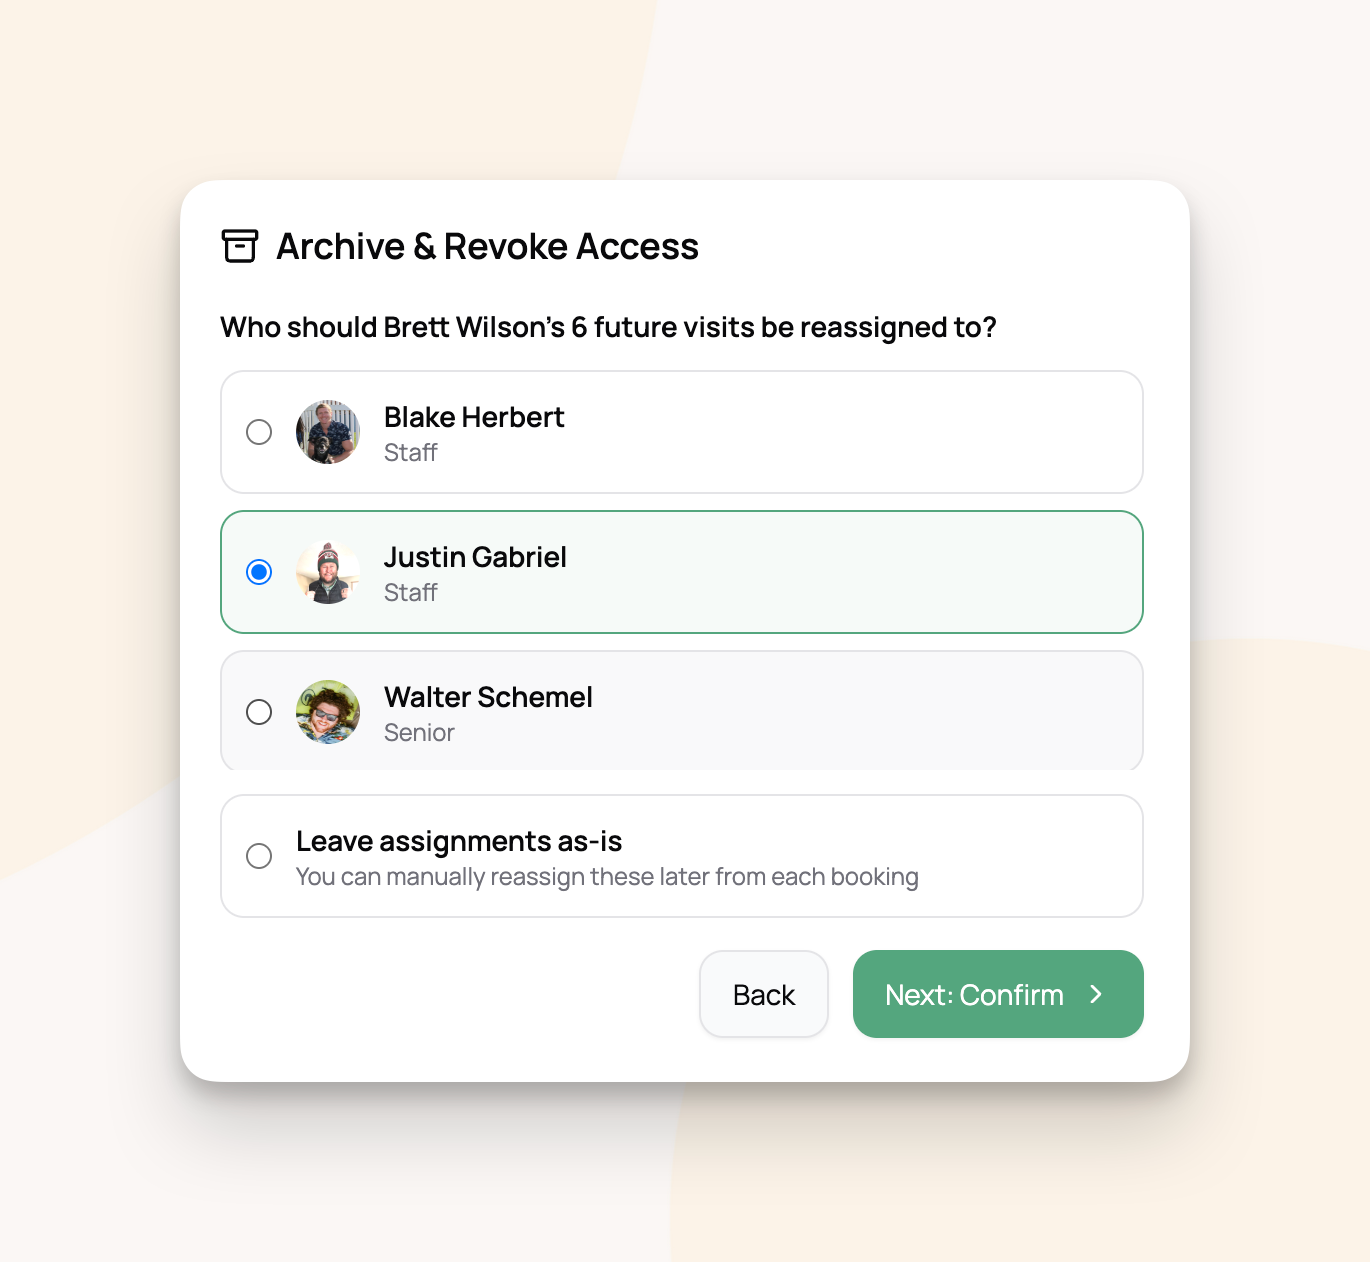
Click Archive & Revoke Access
Review the pre-check summary:
If they have future booking assignments, you'll see each one listed
Choose to reassign those bookings to another team member, or leave them as-is to handle manually
Confirm

What archiving does:
Revokes app access immediately (if they had it)
Hides them from staff selectors, the calendar, and your booking page
Preserves all historical data — past bookings, pay reports, and profile info remain
What archiving does not do:
Delete any data
Affect past payroll exports (those are snapshots)
Viewing & Restoring Archived Staff
Toggle Show archived on the Team Members page to see archived profiles. To reactivate someone, click Unarchive from their profile. This makes them assignable to bookings again, but does not restore app access — you'll need to send a new invitation.
Note: You cannot archive yourself (the business owner).
Copying Compensation Rates When Adding Staff
If multiple team members earn the same rates, you can save time by copying compensation settings from an existing staff member during creation.
When adding a new staff member, toggle on Copy compensation rates and select the team member whose rates you want to duplicate. All service rates, extra pet rates, and surcharge rates are copied over.
You can always adjust individual rates later from Staff → Compensation. For full details on setting up pay rates, see Staff Compensation & Payroll →.
Frequently Asked Questions
Can I add staff without giving them app access? Yes. You can add team members purely for scheduling and payroll tracking. They won't receive any invitation or be able to log in. Invite them later whenever you're ready.
What happens to a staff member's data when I archive them? Everything is preserved — past bookings, pay history, profile info, and internal notes. Archiving is fully reversible.
Can staff see each other's schedules? Only Senior Staff and above can view all schedules. Regular Staff members can only see their own.
Can I change someone's role after inviting them? Yes. Go to their profile → Access tab and select a new role. Only the business owner can change roles.
Can staff edit their own name? No. Full name, hired date, and internal notes can only be edited by the business owner or an admin.
Who can see internal notes? Only the business owner and administrators. Internal notes are never visible to the staff member they're about.
Is there a limit to how many staff I can add? No. Add as many team members as you need. You're only billed for active staff on the Growth plan.
Need help with something else? Check out our other guides: